We created this guide to ensure you can easily have an idea on how to install our preset smoothly without surprises, if you haven’t got the chance to get your pack yet you can always get your Lightroom mobile presets here.
WHAT IS LIGHTROOM ?
Lightroom is the little brother of photoshop specialized in the photography editing. This app allows you to enhance your photos without complex editing or drastic transformations. Now there are different versions and options to use Lightroom from your phone to your computer and today we are going to focus on how to install Lightroom presets on the free mobile app

We created our presets to simplify your editing and save you time while taking advantage or our full experience on editing photos. Weather you are a professional or not you deserve to have beautiful pictures.
INSTALLING LIGHTROOM PRESETS
Using the free Lightroom app have the downside of limited options and no access to a computer transfer or drag and drop installation (at least for now) but hey ! I got you covered you will simply install them manually like a boss !
Let’s get on the steps to install your presets ! The whole process takes only a few minutes and the more you practice it the simpler it gets. Now that I know this by heart it literally takes me less than a minute to install a pack manually on my phone.
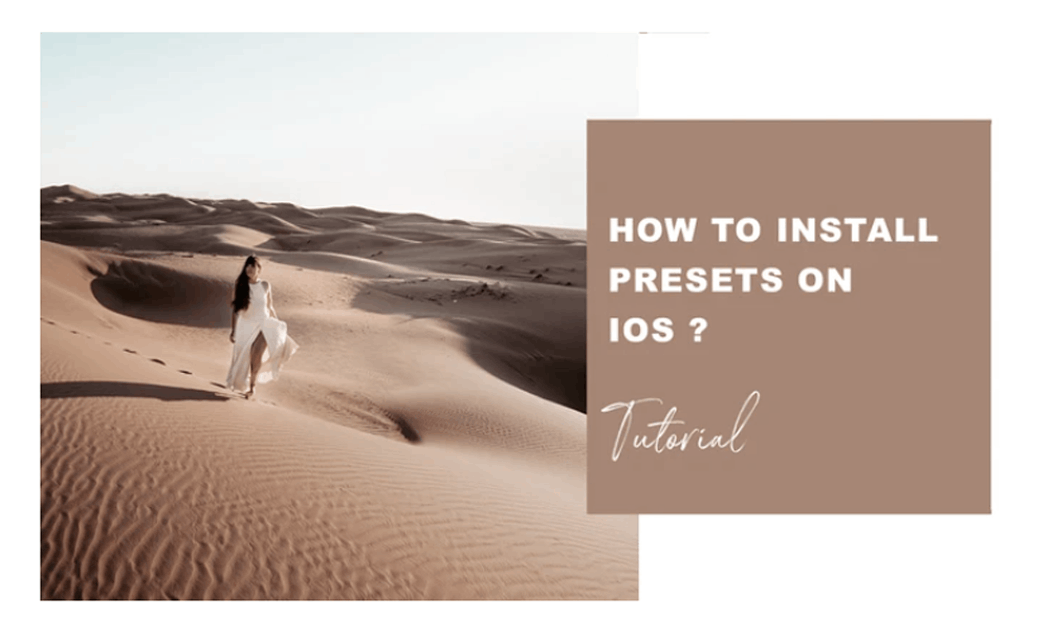
This guide shows you how to install these presets on IOS if you have an Android device check out my Android installation guide.
STEP 1. GET THE APP AND REGISTER AS A FREE USER.
Download the Lightroom app from Adobe as it’s the developper.
Use any of these sign up methods for a quick registration, remember you don’t need to agree to take the subscription to use the app if you do not want to pay for it every month.

STEP 2. DOWNLOAD YOUR ORDER
We deliver you the mobile presets as DNG files, this is a special format of photos where all the transformations applied stay on top of the photo and therefore can be detected by your app. This is basically a magic type of file which will carry your filter inside your app.
You will find that we deliver you the presets directly unzipped for a really easier installation with the instruction guide that you can keep with you.
Tap on the name of the preset to save it to your downloads files directly on your phone.

NO IDEA WHERE TO LOCATE YOUR FILES ON YOUR PHONE ONCE DOWNLOADED ?
They go in your « Files » app in the download folder.
Simply research on your phone « files » and the app should show up. If this is not there you only need to download it from your Apple store.
Open the “Files” app and make sure to go in the explore section to show the menu. And here will be your download folder with the presets inside it

YOUR PRESETS LOOK BLANK ?

That is normal, remember they are delivered on a specific type of file and it cannot be read easily by your phone. It doesn’t mean that it is not working it will just develop once opened inside your app.
STEP 3. OPEN YOUR DNG FILES IN YOUR LIGHTROOM APP
Select your preset(s) and use the option button to open the options tab. Choose to open in Lightroom.

- If your Lightroom app is not showing up keep scrolling to the right and tap on « More » to open the complete list where Lightroom will be.

STEP 4. CREATE YOUR PRESET
Your DNG files are now in your Lightroom app and they have successfully carried the preset inside the app all is left to do is to save them manually and this is how you do it :
Open the first DNG file in big
Make sure you are in Edit mode in the left corner (this is normally automatic)
Select the top 3 little dots in the right corner
A new tab opens – Select « Create Preset » in the list

- The Creation preset tab opens :⦾ Rename the preset after the name on the DNG file for example « CAMEL »
⦾ Right under the name field tap on « users presets » it will open the group option – Create a new group and rename it after the name of the pack : « FAWN » in our case.
⦾ Validate everything and your first preset will be created.

You come back to your first DNG file once you finished the creation process and you can now repeat the step for the second image.
- Swipe right to go on to it.
- Select the top 3 little dots in the right corner
- Select « Create Preset »

The Creation preset tab opens :
⦾ Rename the preset after the name on the DNG file in our case « LATTE»
⦾ Right under the name field tap on « users presets » it will open the group option – Select the « FAWN » group you just created in the list
⦾ Validate everything

You have now created your second preset ! You can repeat this step for the other presets of your pack !
- STEP 5. FIND YOUR PRESETS
Open an image you would like to edit with your new presets ! - Scroll the tool bar at the bottom to open the preset tool
- Your presets won’t show up automatically you will find it in the group list and this is how :
⦾ Open the menu by taping on the name above the default presets such as « color »
⦾ The group menu opens and your “FAWN” group will be in the list

NEED TO INSTALL ANOTHER PACK ?
You can repeat the same process just make sure to create a new group for them to tidy your presets together. Basically the group is the package you buy : 1 group = 1 preset pack

START USING YOUR NEW PRESETS!

You can now play with them and boost your photos ! You can create as many looks as you need and the editing possibilities are limitless. I love using them to play around with my instagram feed and create new looks every now and then. You can browse all the preset options we created to help you achieve your goals
For more tips and tricks follow me on Instagram : https://www.instagram.com/real.messia/
Share your creations and tag #messiapreset to be featured.
2 thoughts on “HOW TO INSTALL LIGHTROOM PRESETS LIKE A BOSS – IOS”